# Installation xtelsio CTI client
# Grundinstallation
Für die Installation von xtelsio sind lokale Administratorenrechte zwingend erforderlich
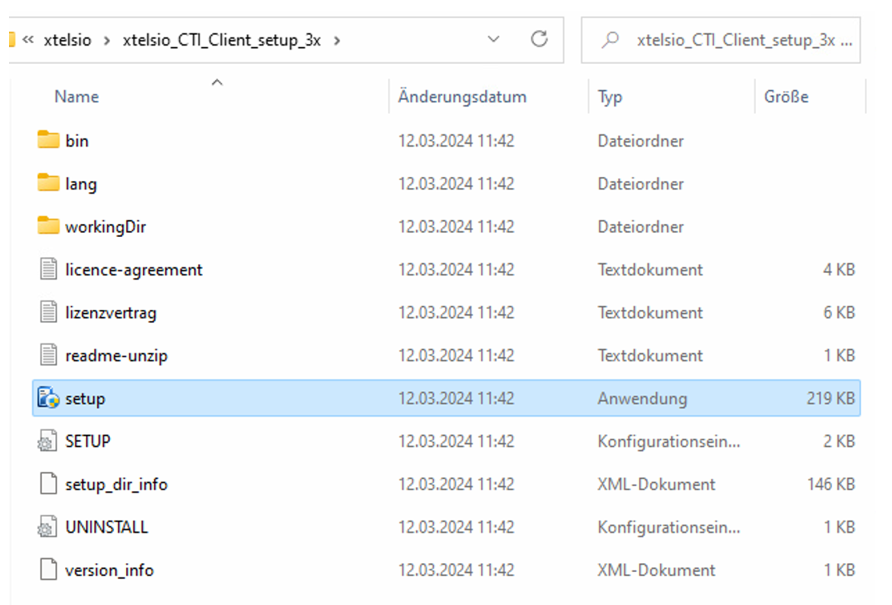
Download von xtelsio CTI Client 3.1 (Std / Prof) als zip-File unter [https://www.xtelsio.com/en/download.htm](https://www.xtelsio.com/en/download.htm)
[](https://wiki.com4all.ch/uploads/images/gallery/2024-03/apUYIS3k23veYob5-image.png)
Ausführen von setup.exe mit lokalen Administrator-Rechten
[](https://wiki.com4all.ch/uploads/images/gallery/2024-03/SFtJK8nYrBr29mfS-image.png)
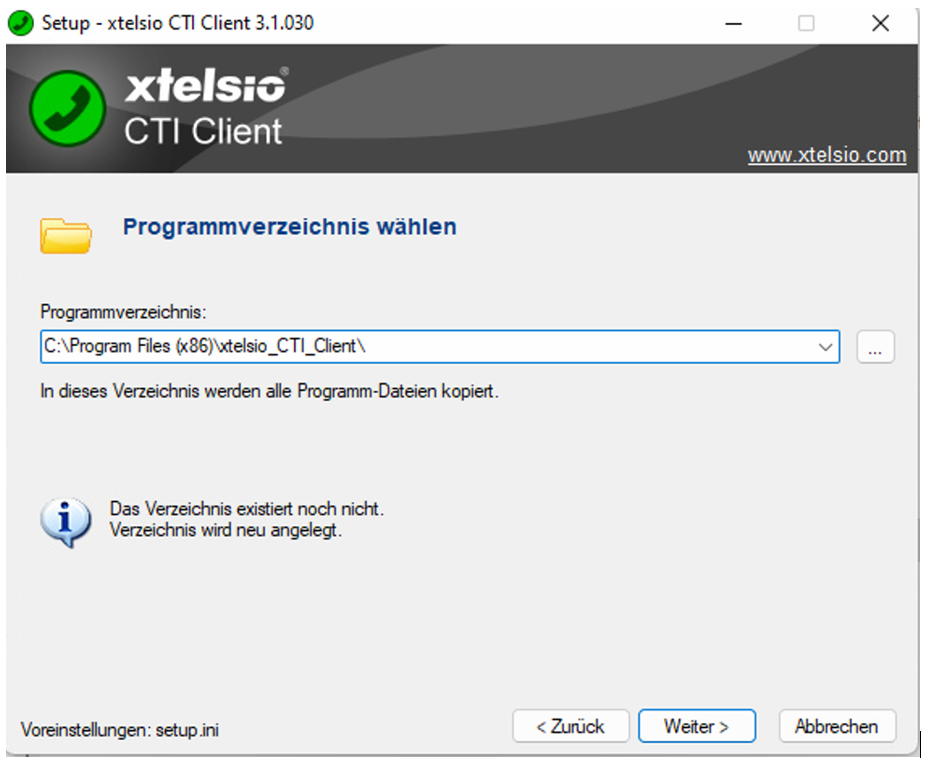
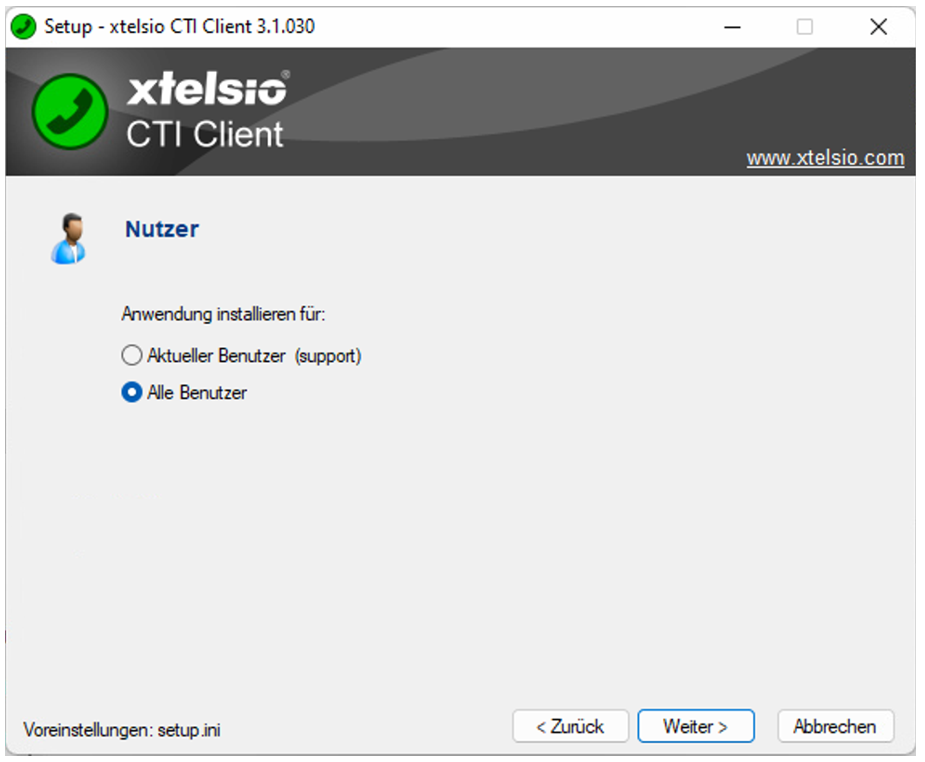
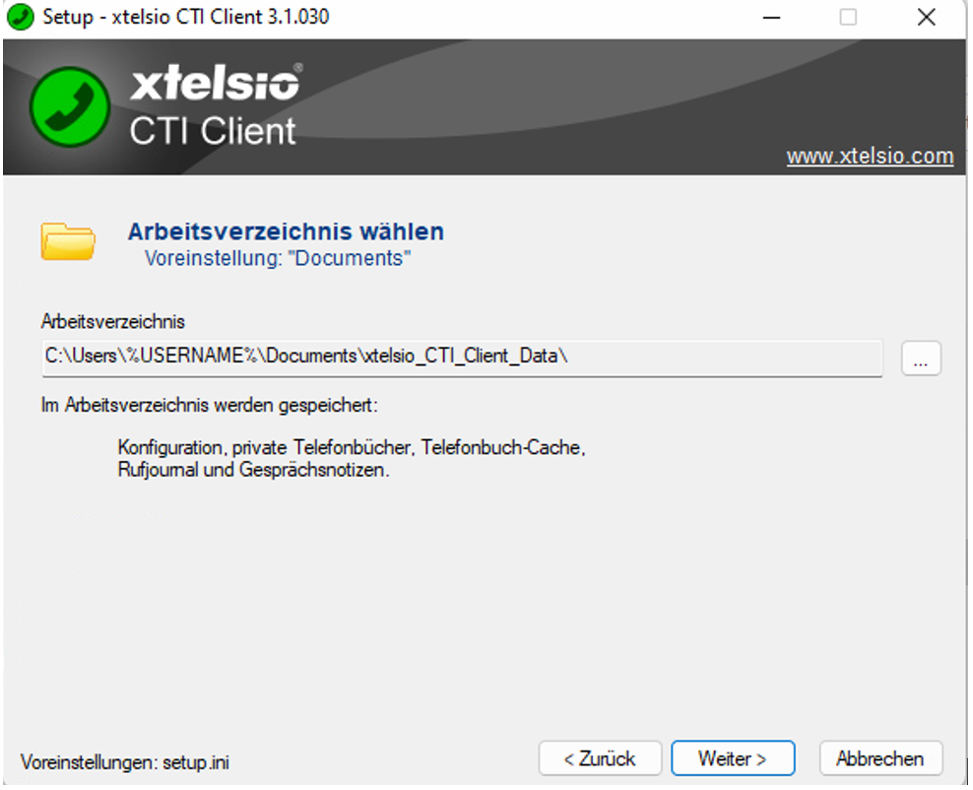
und sich durch das Setup klicken gemäss den untenstehenden Screenshots:
[](https://wiki.com4all.ch/uploads/images/gallery/2024-03/mraeOZYiZpSPSbIE-image.png)
[](https://wiki.com4all.ch/uploads/images/gallery/2024-03/WDi6c0YyuzP9jy9Z-image.png)
Das Arbeitsverzeichnis wurde bisher immer standardmässig in den Ordner Dokumente des Userprofils geschrieben
[](https://wiki.com4all.ch/uploads/images/gallery/2024-03/LO4fDqs9jQaWiVwf-image.png)
[](https://wiki.com4all.ch/uploads/images/gallery/2024-03/KMtRJcRUBHtbRHwj-image.png)
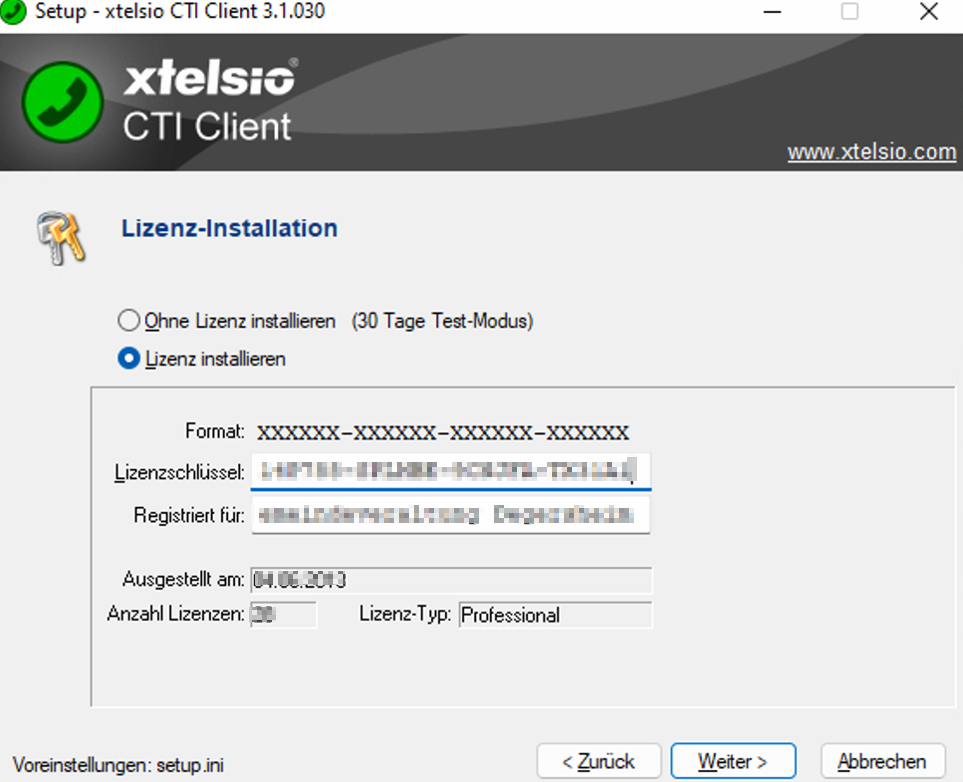
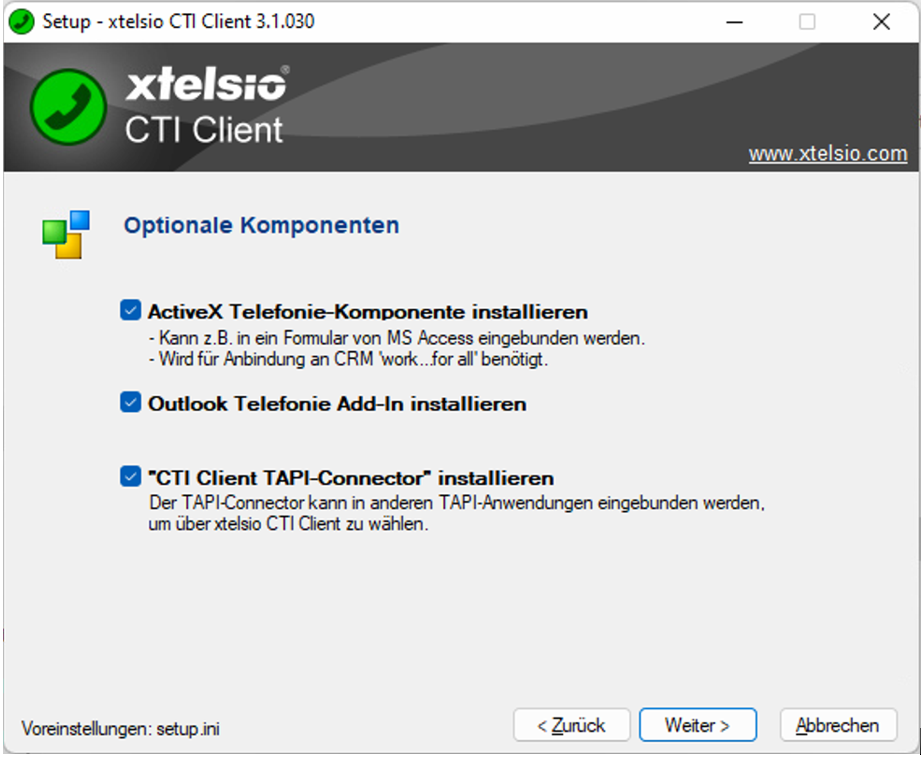
Bei den optionalen Komponenten ist es wichtig dass alle drei Optionen aktiviert sind:
[](https://wiki.com4all.ch/uploads/images/gallery/2024-03/hIyyQuzOw2gAA8En-image.png)
[](https://wiki.com4all.ch/uploads/images/gallery/2024-03/HksAMm97NFNKlXyL-image.png)
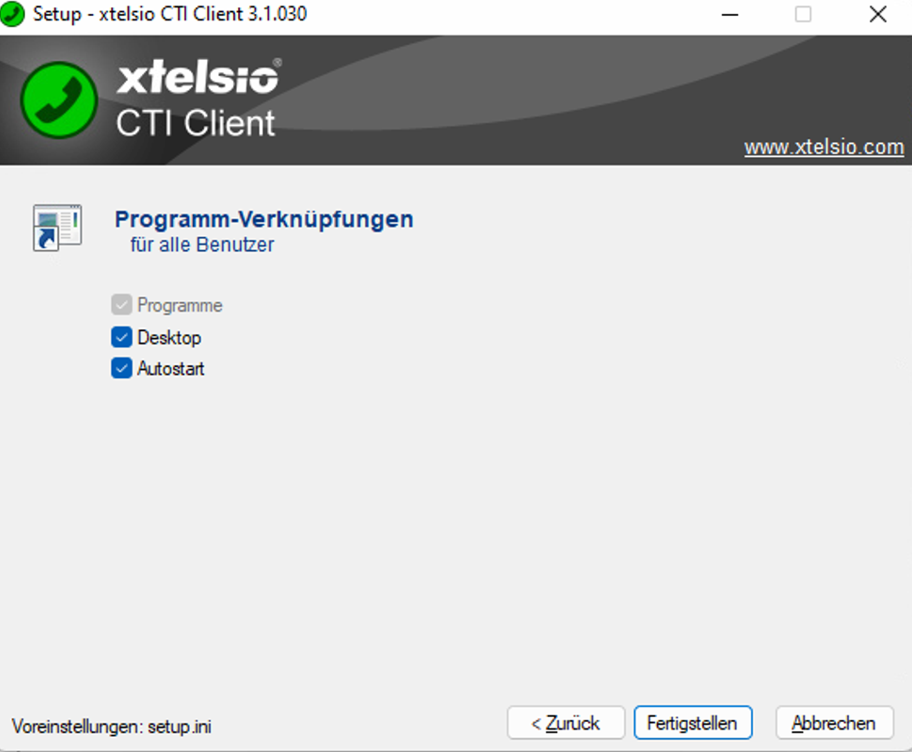
Fertigstellen
[](https://wiki.com4all.ch/uploads/images/gallery/2024-03/st6FEpNMZexyUnrX-image.png)
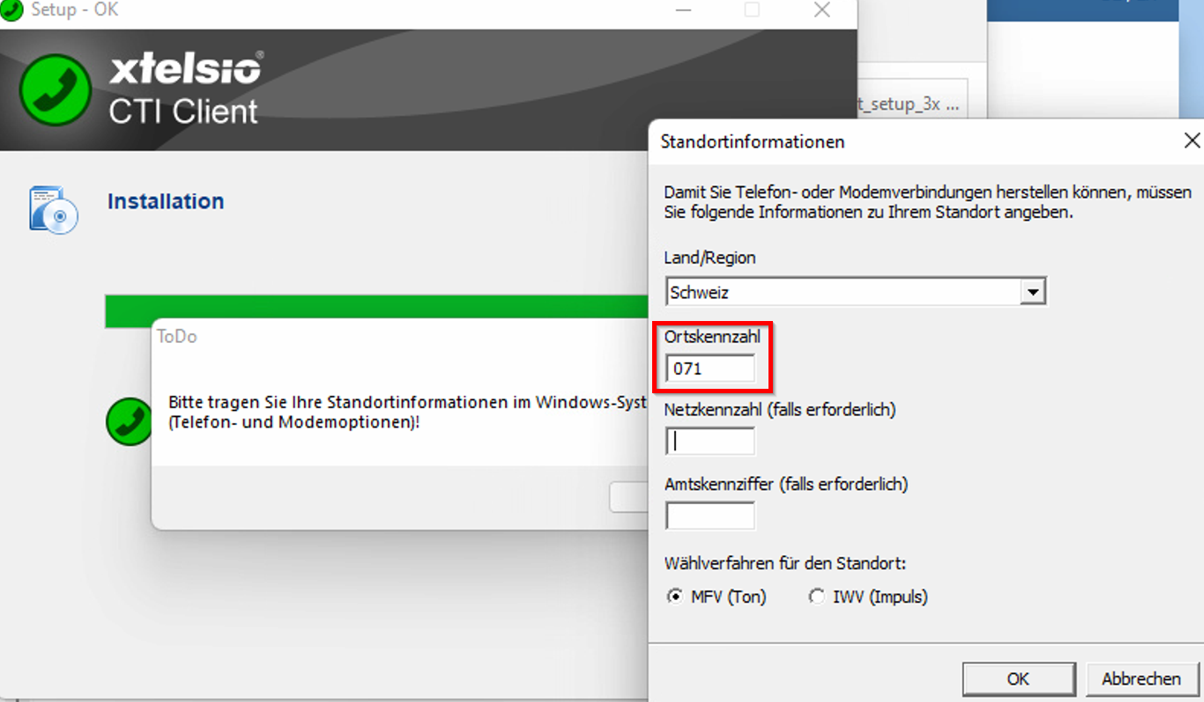
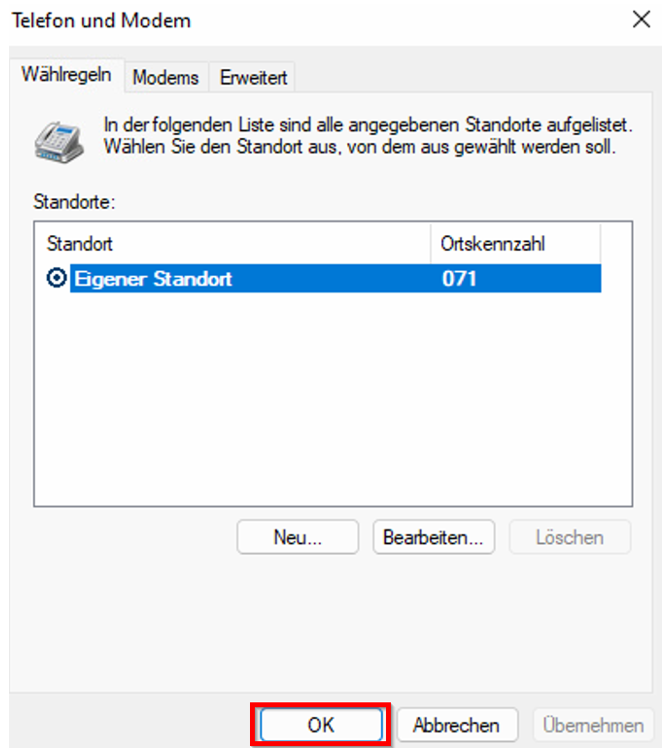
Unter Standortinformationen wird die Vorwahl eingetragen, z.B. 071
[](https://wiki.com4all.ch/uploads/images/gallery/2024-03/apbtCZ98GtxkVFus-image.png)
und mit OK abschliessen
[](https://wiki.com4all.ch/uploads/images/gallery/2024-03/hxBVw6azd7GKpnOI-image.png)
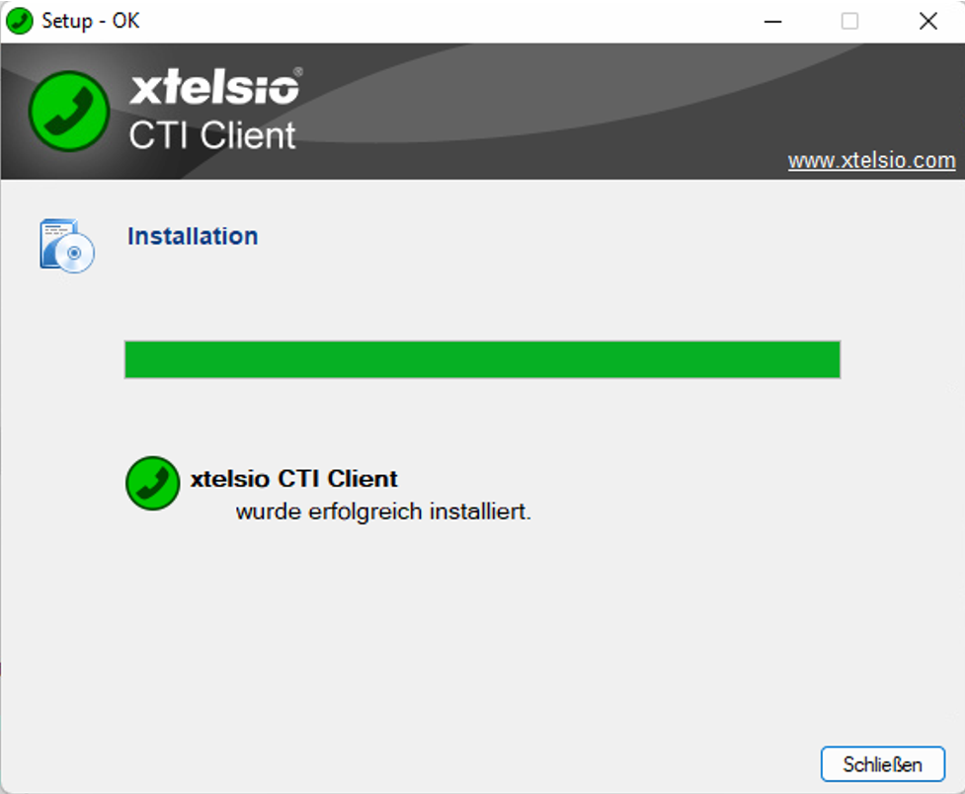
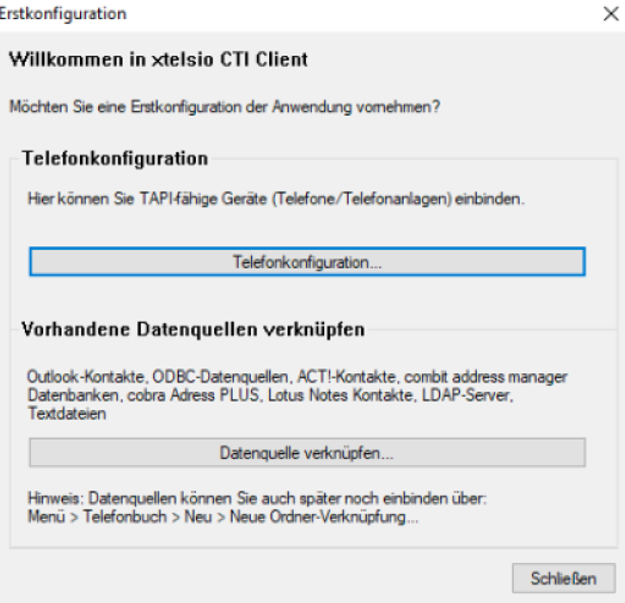
Nachdem die Installation durchgelaufen ist erscheint die Maske für die Erstkonfiguration. Drücken Sie auf «Schliessen»
[](https://wiki.com4all.ch/uploads/images/gallery/2024-03/bveJBSXziiaZ1VgK-image.png)
# Wechsel eines Clients
Ausführen der Grundinstallation von xtelsio CTI client auf dem neuen Client
Kopieren des "alten" Ordners C:\\Users\\<User>\\Documents\\xtelsio\_CTI\_Client\_Data ins neue Userprofil des neuen Clients. Damit werden alle Einstellungen übernommen