# VPN
# NetExtender - Installation und Konfiguration
Dieser Beitrag erklärt, wie Sie den NetExtender von SonicWall für die Verbindung mittels SSL-VPN nutzen können.
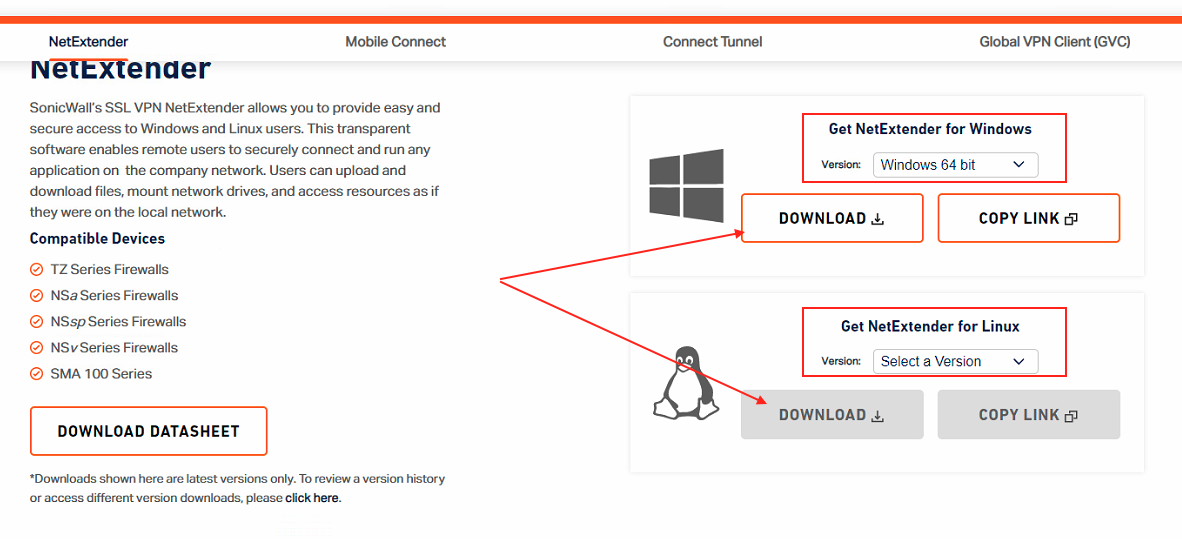
Die Installationsdatei des NetExtenders ist Online auf der Download-Seite von SonicWall verfügbar: [https://www.sonicwall.com/products/remote-access/vpn-clients/](https://www.sonicwall.com/products/remote-access/vpn-clients/)
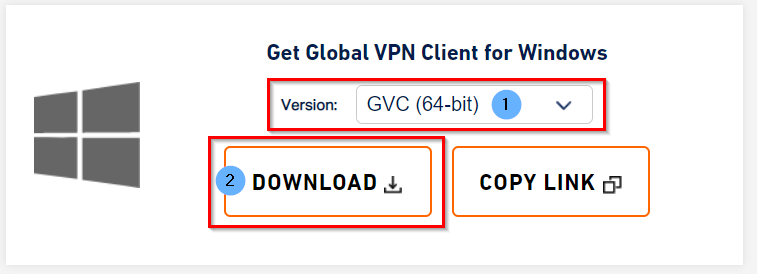
Wählen Sie ihre Version und klicken Sie anschliessend auf "Download" um die Applikation herunterzuladen.
[](https://wiki.com4all.ch/uploads/images/gallery/2024-02/w2mnO4y47SBdUmWI-download-netextender.png)
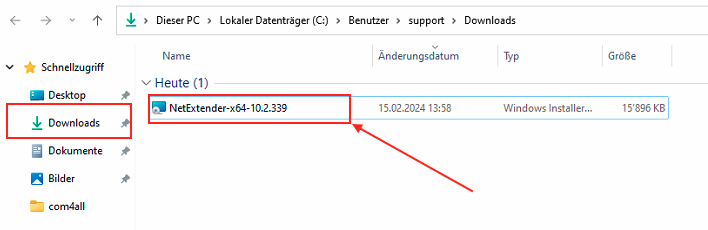
Starten Sie die Installation mit einem Doppelklick auf die heruntergeladene Datei
[](https://wiki.com4all.ch/uploads/images/gallery/2024-02/wCFuiwPSjhZo696B-installation-netextender1.png)
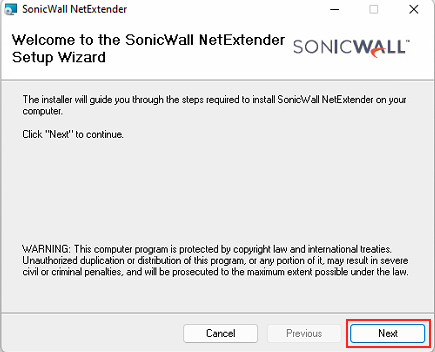
Führen Sie Die Installation anhand folgender Bildbeschreibung durch:
[](https://wiki.com4all.ch/uploads/images/gallery/2024-02/K6I6g5O2NhA3LdCz-netextender-installation-1.png)[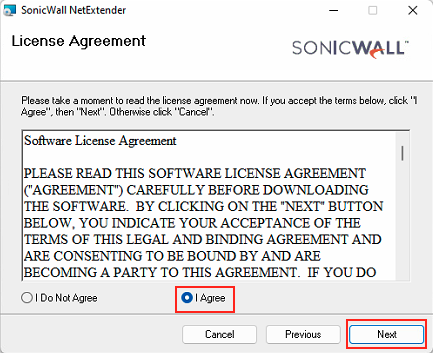](https://wiki.com4all.ch/uploads/images/gallery/2024-02/SexSvHSZAmo4OXjP-netextender-installation-2.png)[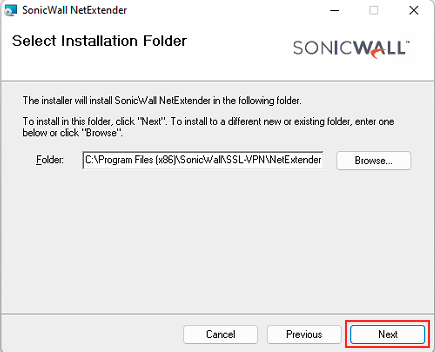](https://wiki.com4all.ch/uploads/images/gallery/2024-02/o66lJXS6B7WS6nWV-netextender-installation-3.png)[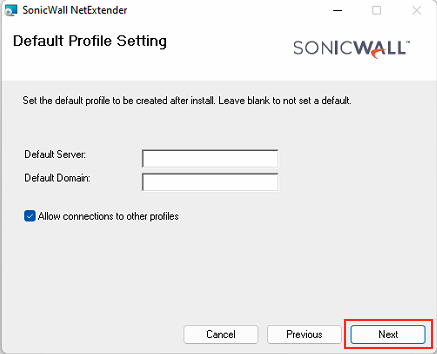](https://wiki.com4all.ch/uploads/images/gallery/2024-02/RAOfJJzPIZIrRcmE-netextender-installation-4.png)[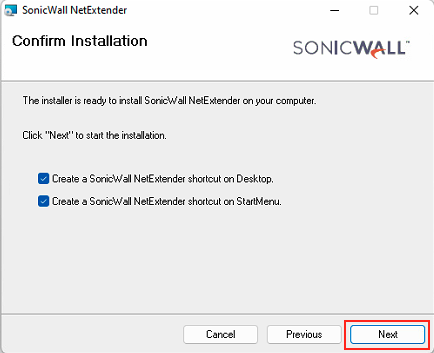](https://wiki.com4all.ch/uploads/images/gallery/2024-02/rexBJmoh0nCvXqvZ-netextender-installation-5.png)[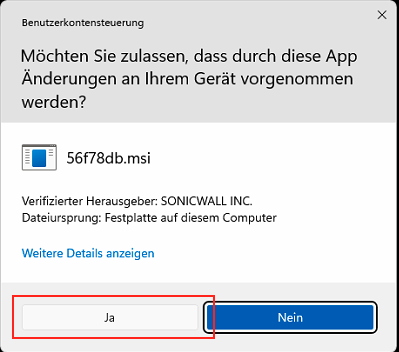](https://wiki.com4all.ch/uploads/images/gallery/2024-02/2PSc0X7ZOVLqOK4B-netextender-installation-6.png)[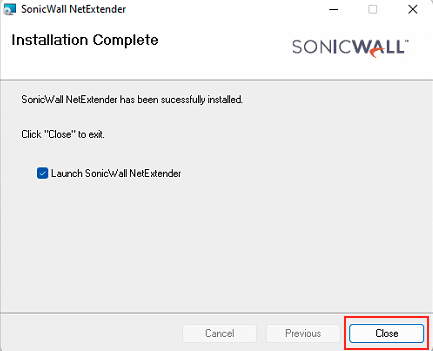](https://wiki.com4all.ch/uploads/images/gallery/2024-02/MxP8bQndJhIBAcB1-netextender-installation-7.png)
Starten Sie ihr Gerät neu, falls ein Neustart notwendig ist
[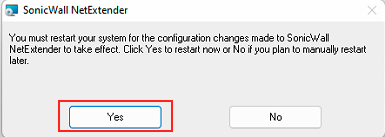](https://wiki.com4all.ch/uploads/images/gallery/2024-02/H9K9181Un4JHCC0i-netextender-neustart.png)
Starten Sie die Applikation "NetExtender" nach dem Neustart des Computers.
Geben Sie die Angaben ein, welche Sie von uns erhalten haben und klicken Sie auf "Connect"
Server: IP-Adresse und Port des Standorts auf den Sie sich verbinden können (Beispielsweise 1.2.3.4:4433)
Username: Name ihres Benutzers (Beispielsweise hans.muster)
Passwort: Passwort ihres Benutzers
Domain: Domäne, falls vorhanden
Bei der ersten Verbindun kann es sein, dass folgendes Fenster angezeigt wird. Klicken Sie auf "Always Trust"
[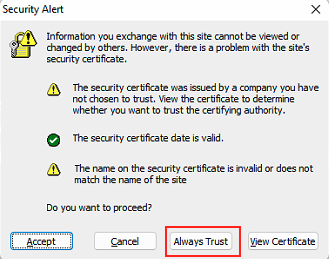](https://wiki.com4all.ch/uploads/images/gallery/2024-02/zW6vcfnrRqzBUdlU-netextender-always-trust.png)
# SSL-VPN mit Mac OS X - Sonicwall Mobile Connect
Installieren Sie die App "Sonicwall Mobile Connect" auf ihrem Gerät: [https://apps.apple.com/ch/app/sonicwall-mobile-connect/id822514576?mt=12](https://apps.apple.com/ch/app/sonicwall-mobile-connect/id822514576?mt=12)
Geben Sie die Angaben ein, welche Sie von uns erhalten haben und klicken Sie auf **"Connect"**
Server: IP-Adresse und Port des Standorts auf den Sie sich verbinden können (Beispielsweise 1.2.3.4:4433)
Username: Name ihres Benutzers (Beispielsweise hans.muster)
Passwort: Passwort ihres Benutzers
Domain: Domäne, falls vorhanden
# Global VPN Client - Installation und Konfiguration
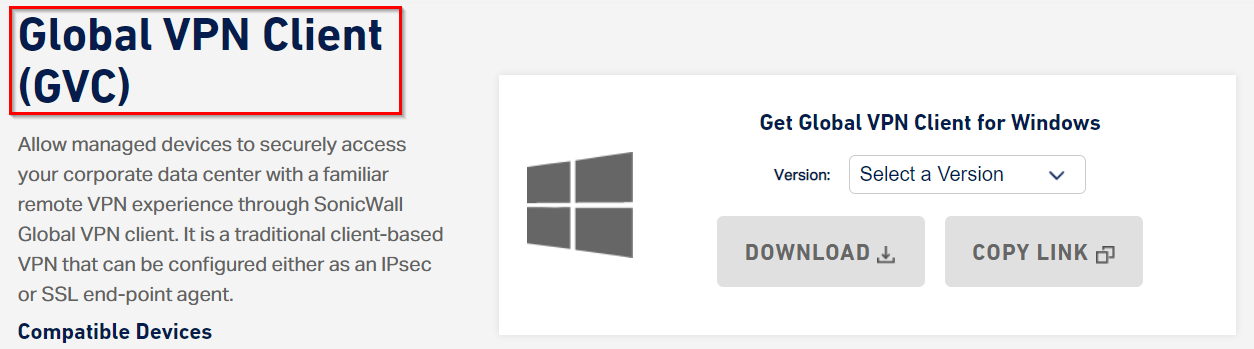
#### Download Global VPN-Client (Windows)
Laden Sie den Global VPN Client (GVC) von der Webseite [https://www.sonicwall.com/products/remote-access/vpn-clients/](https://www.sonicwall.com/products/remote-access/vpn-clients/) herunter:
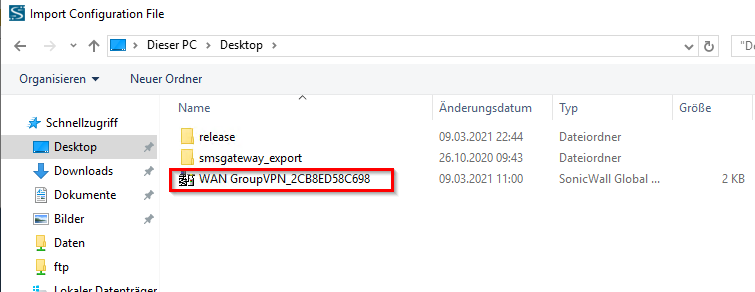
Navigieren Sie zum Ordner, in den Die Datei heruntergeladen wurde:
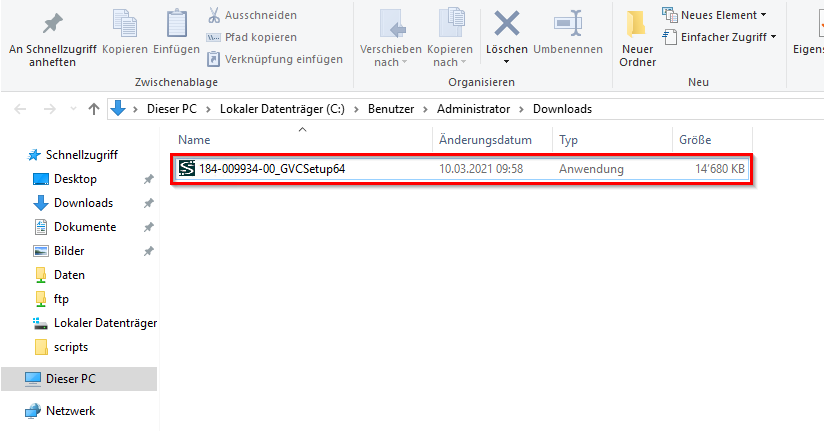
Führen Sie die Datei mittels eines Doppelten Klicks mit der Linken Maustaste aus.
#### Installation Global VPN-Client (Windows)
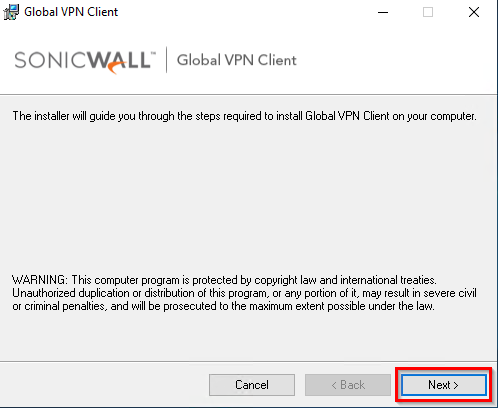
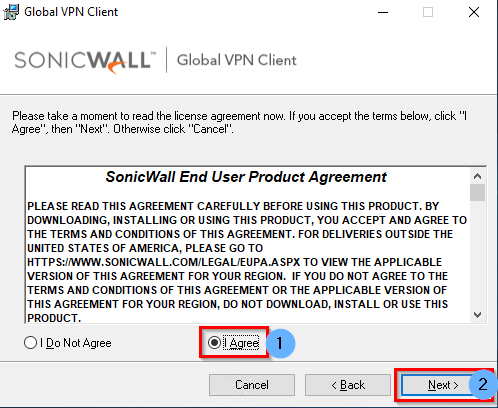
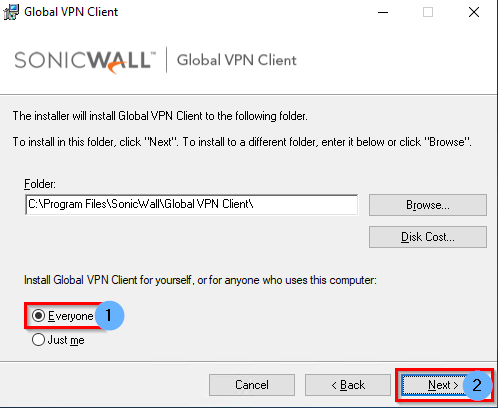
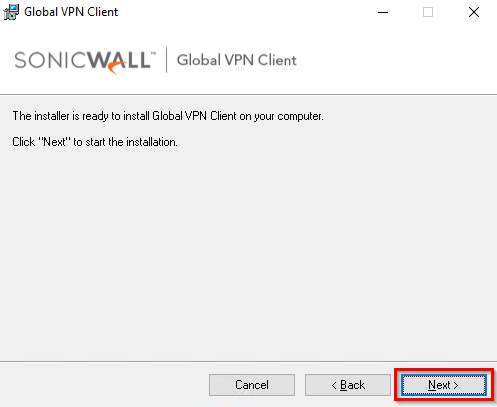
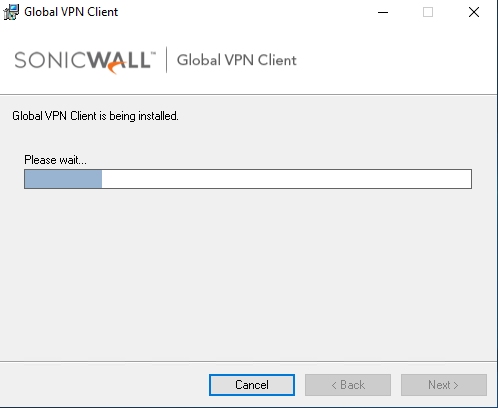
Die Installation beginnt nun und dauert einen Moment.
Nach dem Abschluss der Installation kann das Setup geschlossen werden.
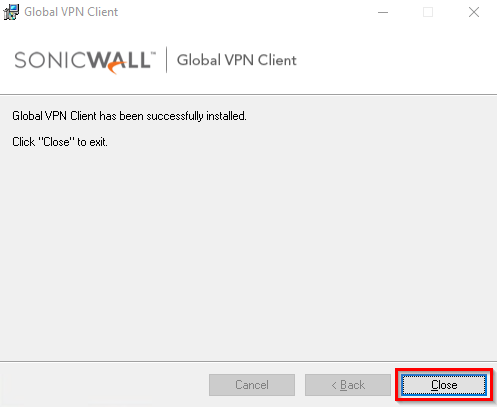
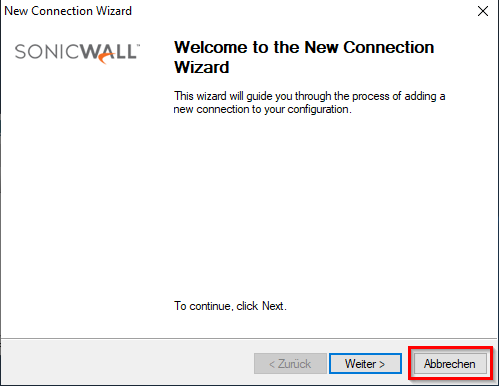
Nach dem schliessen öffnet sich ein weiteres Fenster welches abgebrochen werden kann.
Der Global VPN-Client wird automatisch gestartet.
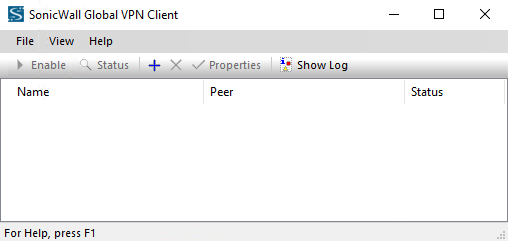
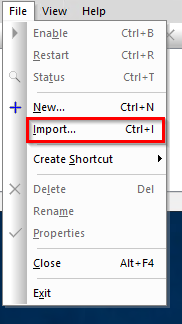
Navigieren Sie im Global VPN-Client zum Menüpunkt "File --> Import":
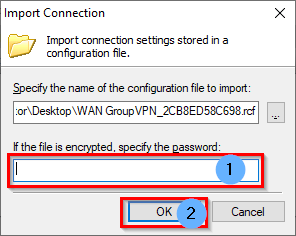
Öffnen Sie die Datei, welche Sie von uns erhalten haben:
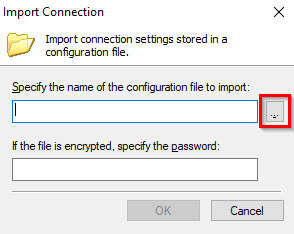
Geben Sie das Passwort für den Zugriff auf das File in das Passwort-Feld ein und klicken Sie auf OK
##### VPN-Verbindung herstellen
Wählen Sie die Verbindung im Global VPN-Client aus und klicken Sie auf "Enable":

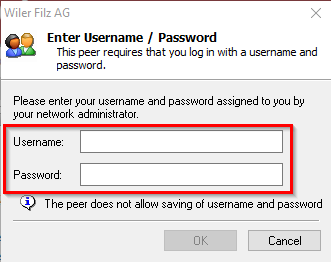
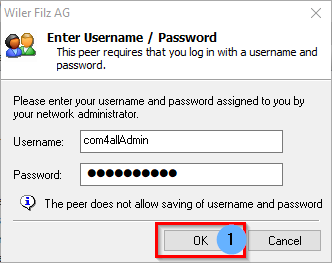
Geben Sie ihren Benutzernamen und ihr Passwort in das Fenster ein, welches sich öffnet.
Klicken Sie auf OK um die Verbindung aufzubauen
Der Status der Verbindung wird jeweils wie folgt angezeigt:
